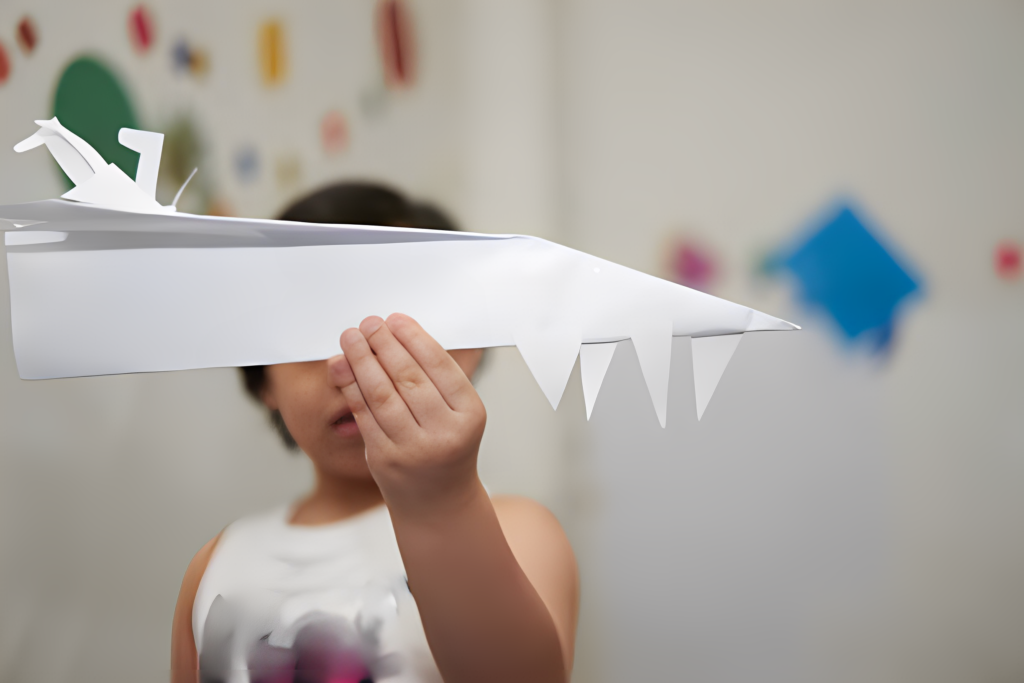
Do you remember the joy and excitement of folding and launching paper airplanes as a child? The sheer anticipation as you released your creation into the air, hoping it would soar gracefully and reach impressive distances. But all too often, those delicate paper planes would crumple and fall to the ground, leaving you disappointed. What if there was a way to reinforcing your paper airplane, making them more durable and capable of withstanding the challenges of flight? In this article, we will explore the art of using tape and paperclips to strengthen your paper airplanes, ensuring they not only fly but also endure.

Reinforcing Your Paper Airplane with Tape
Tape is a versatile and easily accessible material that can significantly enhance the durability of your paper airplane. By strategically placing tape at key stress points, you can reinforce weak areas and prevent premature tears or folds. Here’s how you can reinforce your paper aeroplane using tape:
- Wing Reinforcement: Apply a strip of tape along the length of each wing, reinforcing the creases and preventing them from bending or folding during flight. This reinforcement helps maintain the wing’s shape and stability, allowing for better lift and control.
- Fuselage Strengthening: Strengthen the body of your paper airplane by adding a layer of tape along the center crease of the fuselage. This reinforcement prevents the plane from crumpling and helps maintain its structural integrity.
- Nose Protection: The nose of a paper airplane is often prone to damage upon impact. By wrapping the tip with a small piece of tape, you can provide an extra layer of protection and minimize potential damage from rough landings.
- Tail Reinforcement: To ensure stability and prevent the tail from folding or bending, reinforce it with a strip of tape along the crease line. This reinforcement improves the overall balance and control of the paper airplane during flight.
Remember, while tape can significantly improve the durability of your paper airplane, it’s important not to go overboard. Excessive tape can add unnecessary weight, affecting the plane’s performance and flight characteristics.
Enhancing Structural Integrity with Paperclips
In addition to tape, paperclips can serve as excellent reinforcing for your paper airplane. These humble office supplies can be strategically placed to strengthen specific areas, providing additional support and preventing unwanted folds. Here’s how you can enhance your paper airplane’s structural integrity with paperclips:
- Wingtip Stability: Bend two paperclips into small “L” shapes and attach them to the wingtips. These paperclip extensions add weight to the wings, improving stability and reducing the chances of the wings folding during flight.
- Nose Weight: Achieving proper balance is crucial for a well-performing paper airplane. By attaching a paperclip to the front of the plane, you can add some extra weight to the nose, optimizing its stability and enhancing the plane’s ability to maintain a straight flight path.
- Tail Reinforcement: Attach a paperclip to the tail of your paper airplane to reinforce the back end. This reinforcement helps prevent the tail from bending or folding, leading to improved stability and control.
It’s important to note that when using paperclips, you should be mindful of the added weight. Too much weight can negatively impact the plane’s flight characteristics, so use paperclips sparingly and experiment to find the optimal balance.
FAQs (Frequently Asked Questions)
Making a paper airplane is a simple and enjoyable activity. To get started, follow these steps:
1. Take a standard sheet of paper (8.5 x 11 inches) and fold it in half lengthwise.
2. Unfold the paper, then fold the top corners down to the center crease, forming a triangle shape.
3. Fold the newly formed triangle in half along the center crease, creating a smaller triangle.
4. Fold the wings by bringing the top edges of the triangle down to meet the bottom edge, forming two smaller triangles.
5. Fold the wings down again, this time aligning the edges with the bottom of the airplane.
6. Finally, fold the airplane in half along the center crease, creating the body of the plane.
There are numerous paper airplane designs to explore, each with its own unique characteristics. Some popular designs include the Dart, the Nakamura Lock, the Glider, and the Boomerang. Experimenting with different designs can be a fun way to discover which works best for your flying preferences.
To make a paper airplane that flies far, consider the following tips:
– Use lightweight paper to minimize drag.
– Ensure proper balance by adjusting the weight distribution, usually by adding a small paperclip to the nose.
– Pay attention to the wing shape and angle to optimize lift.
– Test and adjust the launch technique to achieve the desired flight path.
Yes, paper airplanes are an excellent activity for children. They promote creativity, problem-solving, and basic principles of aerodynamics. Supervised play and experimentation with paper airplanes can be both educational and entertaining for kids of all ages.
You can find a wide variety of paper airplane instructions and designs on the LiftNDrift website. They offer detailed step-by-step instructions, design templates, and additional resources to help you create and explore the fascinating world of paper airplanes.
Get ready to soar!
Note: The links provided in this article are internal links to the LiftNDrift website and provide additional information related to the topic.

